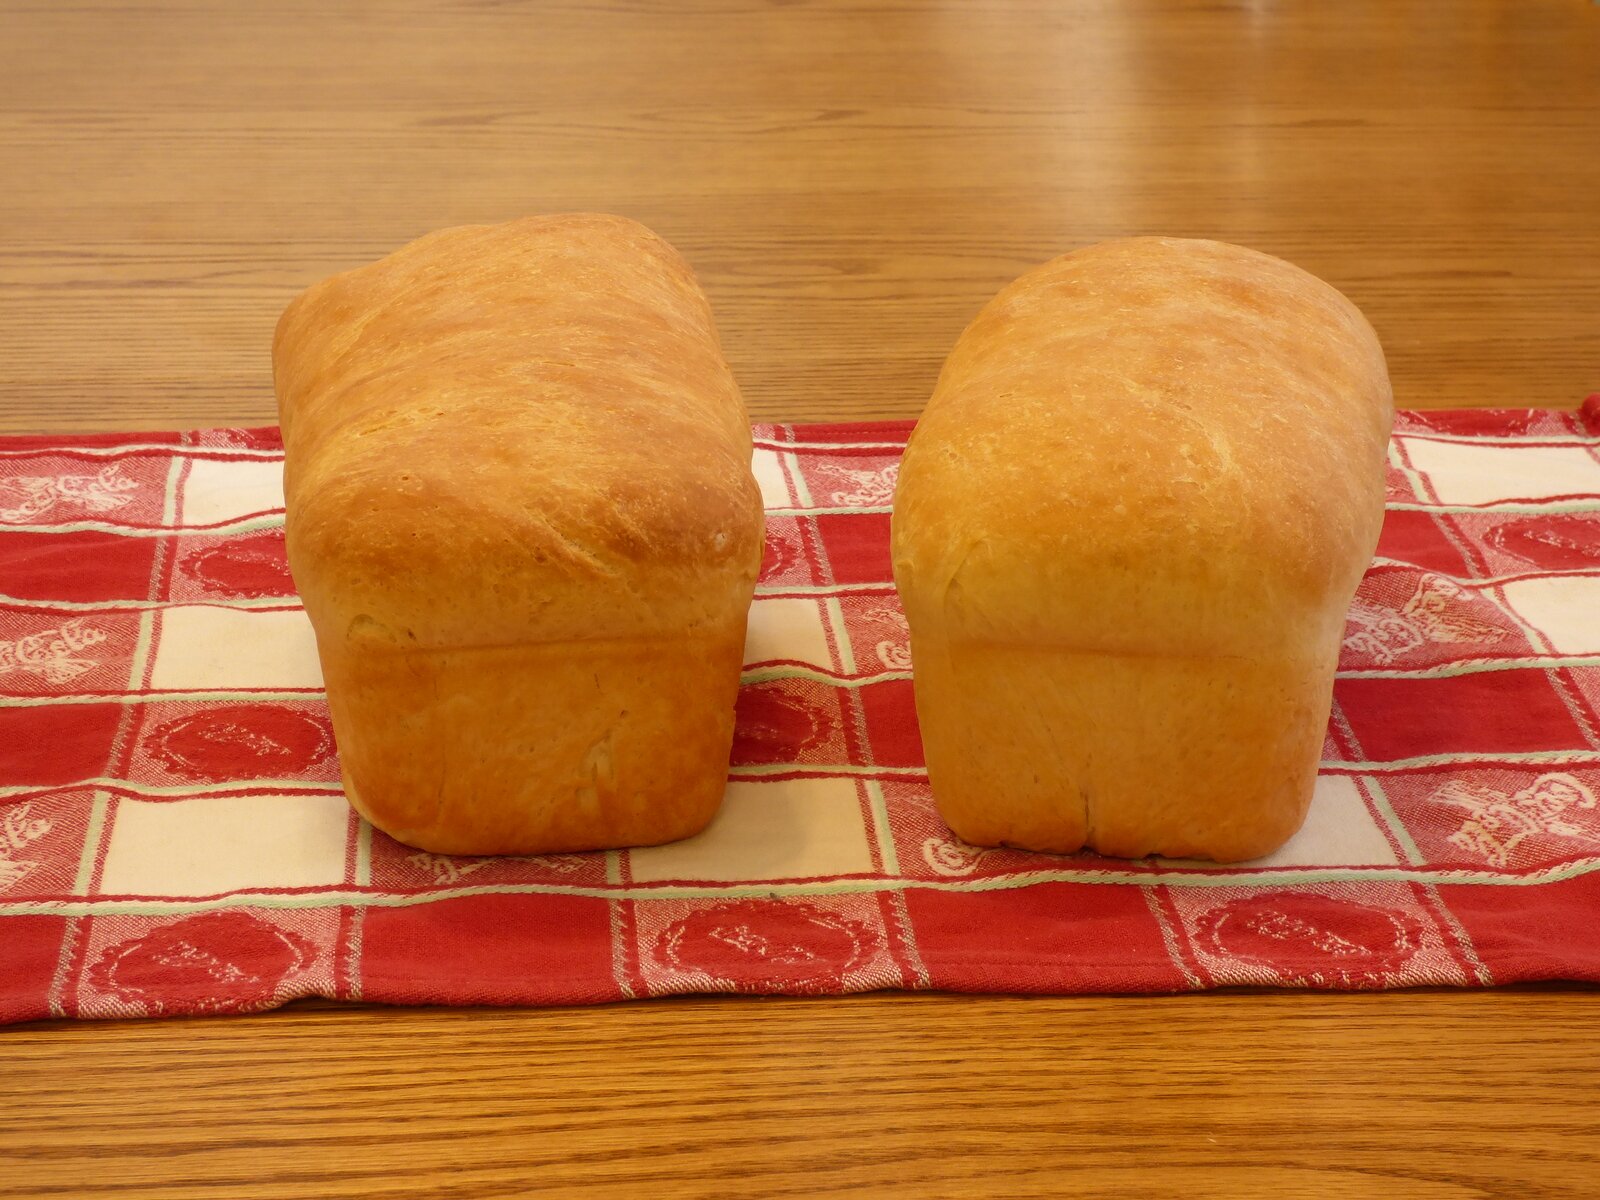
A good way to bake a delicate bread with an intense aroma is to bake using sour dough instead of yeast. The difference in the taste is remarkable.
However, it can be hard to find a decent sourdough bread machine recipe as most bread machine recipes tend to use dry yeast.
I’ve experimented a lot with sourdough both using bread machines and ovens. This is the best recipe I’ve come up with so far.
I always keep a sourdough in the fridge and the trick for this sourdough bread machine recipe is to use a dry sourdough. Drying your sourdough also enables you to keep it fresh in your fridge for a lot longer.
What is a sourdough?
A sourdough is an old dough theoretically speaking. This dough contains microorganisms that give the dough a sour aroma. This means that the dough has a very low pH value, which allows you to store the dough for a very long time.
The microorganisms that are present in the sourdough is a mixture of milk acid bacteria and active yeast that occurs naturally in the grains. These microorganisms enables the bread to rise and gives the bread an incredible flavor.
We’ll start with the recipe for the sourdough before moving on to the sourdough bread machine recipe.
Sourdough recipe:
Ingredients:
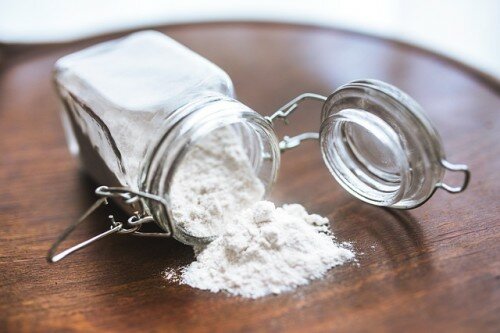
- Approximately ½ cup of rye flour
- ½ cup of water (room temperature)
Day 1:
Mix 1/3 of the flour with 1/3 of the water in a bowl. Stir well. Cover and leave at room temperature for 24 hours.
Day 2:
Add another 1/3 of the flour and 1/3 of the water to the same bowl as yesterday. Stir it all well together. Cover and leave for another 24 hours.
Day 3:
Add the rest of the flour and water and stir well. Cover and leave for another 24 hours.
The sourdough develops at optimally at 77-86 degrees Fahrenheit. The finished sourdough will have a slightly sour smell and a slight layer of foam will develop on top. It will also rise in size.
This sourdough can be left in the fridge for up to 7 days. To store longer turn it into a dry sourdough by adding enough rye flour so that it turns into dry sprinkles. This way you can store it in the fridge for up to 8 weeks. 
Sourdough Bread Machine Recipe
- 1.5 cups of water
- 1½ tbsp butter
- 0.5 cups of dry sourdough
- 3 tsp salt
- 2 tsp sugar
- 1.5 cups of white flour
- 1 cup of rye flour
Bake on the relevant programme. Using rye flour can be tricky for an inexperienced baker as it draws a lot more water than wheat. Therefore, it is a good idea to keep an eye on the dough during the mixing and rising process to make sure that it has the right texture. Add more water if necessary.
The sourdough can naturally also be tricky as the breads ability to rise depends on the culture of the sourdough. You can add 1 tsp of dry yeast to help the rising process until you are very familiar with your sourdough.


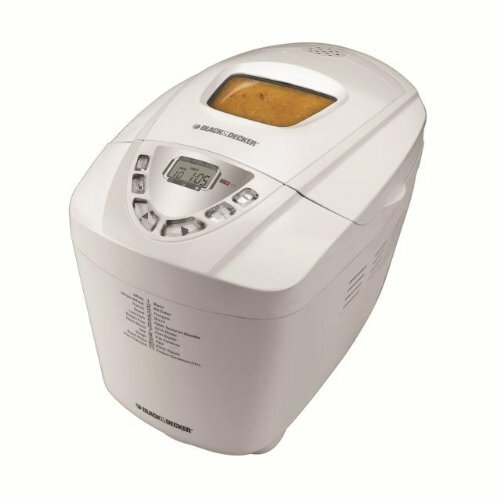

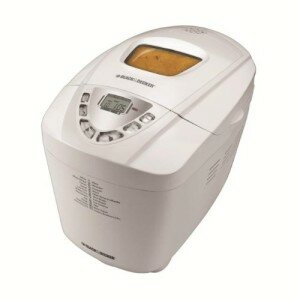 Black and Decker B6000C
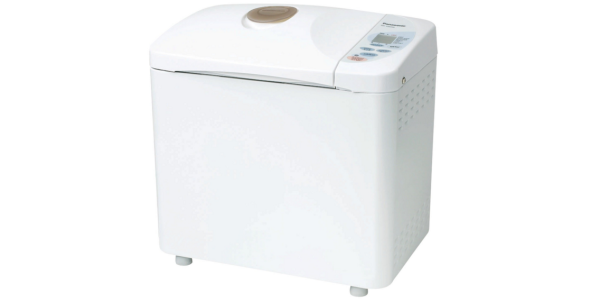

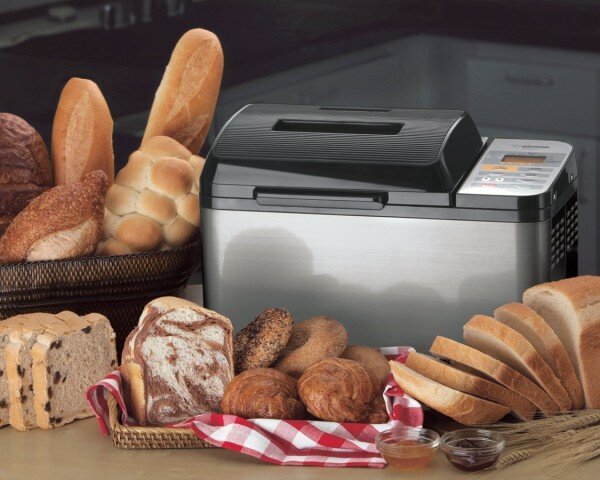
 Click Here for The Best Prices on the Panasonic SD-YD250 Bread Maker